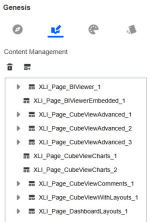
On the Content Management page, you can view and configure Content Blocks that are injected into Pages. You can also inject a Content Block without assigning it to a Page. Later, you can link it to one or more pages.
There are security requirements for the Content Management page. See Genesis Designer and Content Management.
The Content Management page includes the following panes:
-
On the Content Management pane, you can manage Content Blocks. The navigation tree displays Content Blocks as the top-level items and associated Pages as second-level child items. This view is useful if you want to easily identify Content Blocks to update.

-
On the right pane, you can select the Designer and Content tabs to view the content.
-
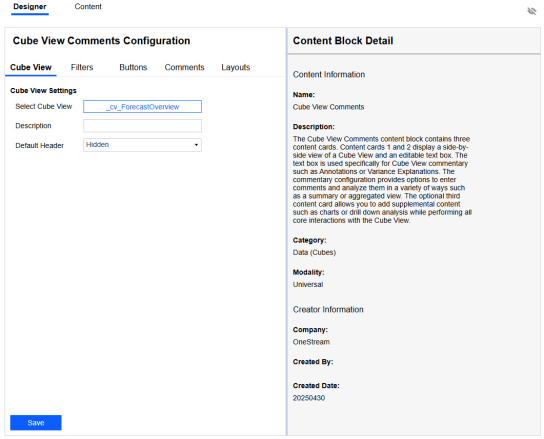
Designer tab: Displays the configuration options for a selected Content Block

For instructions to configure a Content Block, see the Content Block Guide in the Content Library on the Details page. You can also view and download the guide in OneStream Solution Exchange.
-
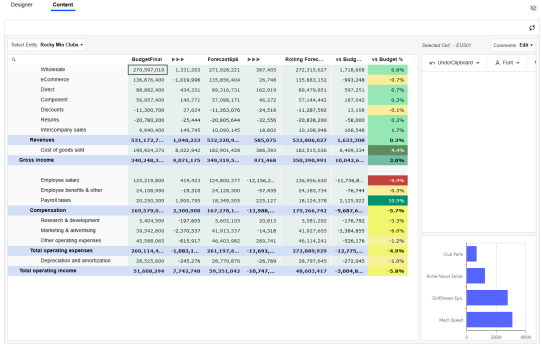
Content tab: Displays the selected content

-
Use the toolbar on top of the navigation pane to delete and inject Content Blocks.

Delete a Content Block
To delete a Content Block, select it in the navigation tree and then click the Delete button.

If a Content Block is assigned to a Page, it cannot be deleted. Remove the Content Block from each Page, then delete it.
Inject a Content Block
To inject a Content Block without adding it to a Page, follow these steps:
-
Click the Inject Content Block button.

-
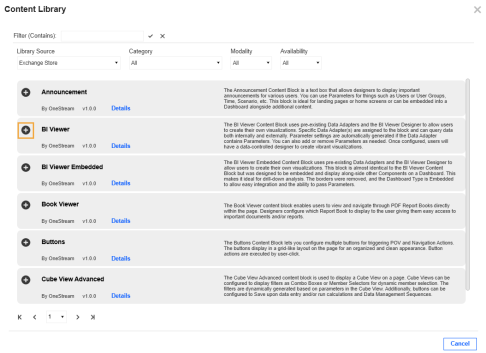
In the Content Library dialog box, click the Add this Content Package
 button next to the Content Block to add it.
Items that are not available have a lock
 icon. Contact the appropriate sales representative for pricing of these items.
TIP: Use the Filter (Contains) field and the Library Source, Category, Modality, and Availability drop-down menus to filter for a Content Block.
TIP: Click Details for more information about the Content Block.
Content Blocks are configured on the Designer tab. For instructions, see the Content Block Guide in the Content Library on the Details page.
To link a Content Block that was created on Content Management to a Page, follow the steps to link existing content from a dashboard. See Link Existing Content from a Dashboard.
TIP: On the Content Management page, the navigation tree uses the following naming convention: XLI_Page_{ContentBlockname}_{auto-increment}. On the Navigation page, the navigation tree uses the following naming convention: XLI_C_{ContentBlockname}_{auto-increment}_(Main). When linking an existing Content Block, be aware of the different naming conventions to identify the correct item.


